How to Light a Wood-Burning Stove and Keep It Going Overnight
A wood-burning stove is only as good as the fire inside it. Get the basics right and you will have a stove that lights with one match, throws steady heat, and leaves nothing but fine grey ash. Get them wrong and you will spend the evening fiddling with dampers while a sulking pile of logs smoulders in the dark.
The good news is that lighting a stove is a skill rather than a mystery, and it takes perhaps half an hour of practice to learn. The same principles apply whether you have a small five-kilowatt room heater or a larger stove heating a whole downstairs. Once you understand what fire needs — fuel, heat and air in the right proportions — you can make almost any stove behave.
Start with dry wood and a clean stove
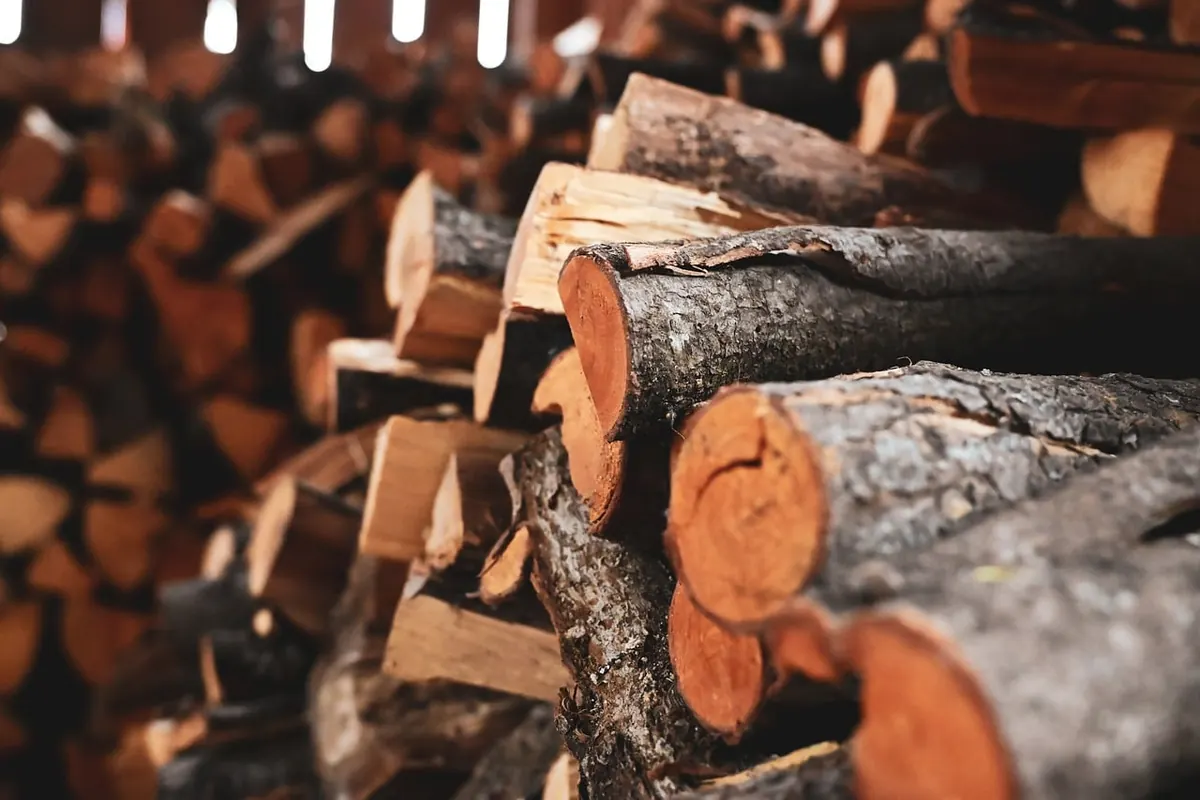
Before you strike a match, look at what you are about to burn. Seasoned wood with a moisture content somewhere around 15 to 20 per cent is the single biggest factor in how a fire behaves. Unseasoned or "green" wood wastes most of its energy boiling off water, which cools the fire, coats the glass in tar and sends more smoke up the chimney. You can buy a small moisture meter for very little, or simply knock two logs together: dry wood rings, damp wood thuds.
Hardwoods such as ash, oak, beech and birch are the traditional choices — dense, slow-burning and generous with heat. Softwoods like pine and spruce light quickly and are excellent kindling, but they burn away fast if used alone.
Then give the stove a quick tidy:
- Empty the ash pan, but leave a thin layer of ash on the firebrick base — it insulates the fire and helps the first logs catch.
- Check the firebricks and rope seals for cracks or gaps. Air leaking in where it should not is a common reason a stove proves hard to control.
- Make sure the air vents move freely and the glass is clean enough to see the fire through.
- Open the chimney damper or check that the flue is not blocked — a swift visual check before the season starts is worth the trouble.
Build the fire the right way up
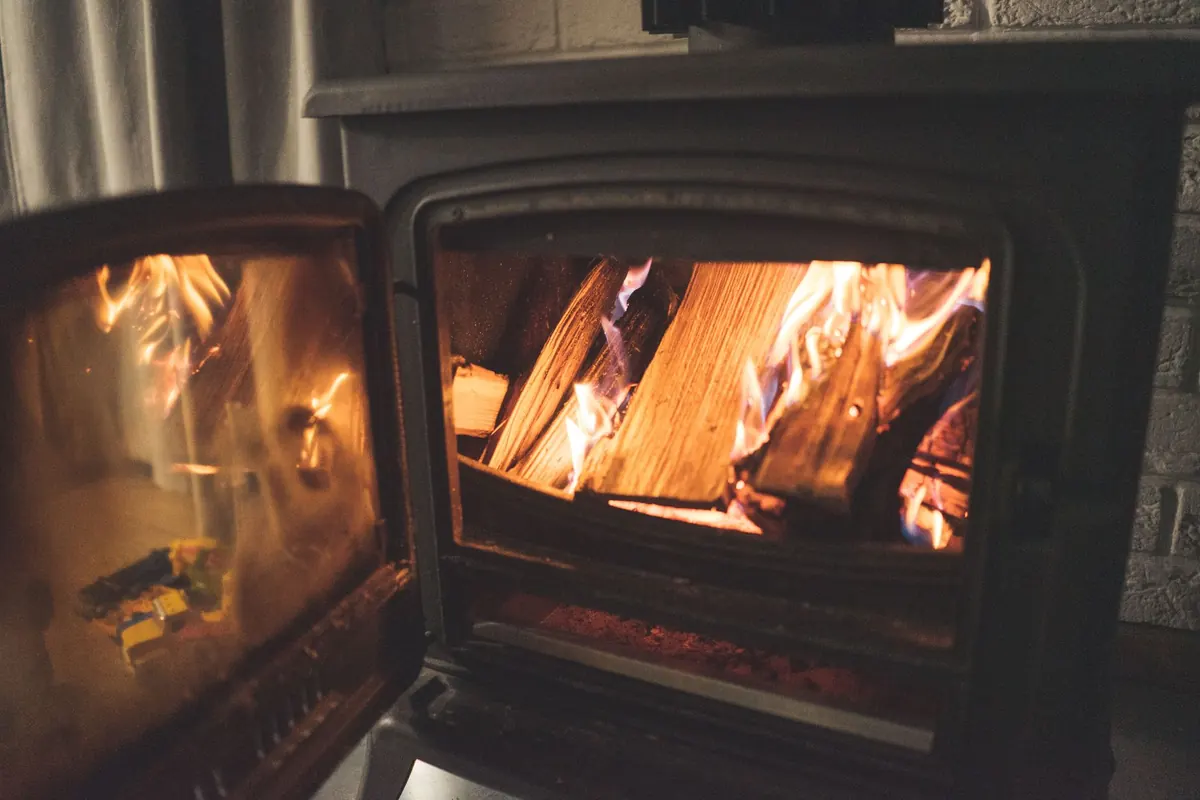
The traditional "teepee" of kindling still works, but a top-down fire is easier and cleaner. You place the largest logs on the bottom, add a layer of smaller splits, then a handful of kindling on top, and light the kindling. The fire burns downwards, so the logs below are warmed gradually and catch without a fight.
Whatever method you choose, follow this order:
- Put two or three medium logs in the base of the firebox, roughly parallel, with a little space between them for air.
- Add a criss-cross layer of smaller splits on top.
- Finish with kindling and a couple of natural firelighters. Avoid glossy paper, which clogs the flue with sticky deposits.
- Open the primary air vent fully and the door slightly ajar for the first few minutes.
- Light the kindling from the top. Close the door once the flames are established.
Resist the urge to pile on logs at this stage. A small, hot fire gets the flue warm, and a warm flue is what draws properly. Cold chimneys smoke; warm ones pull.
Understand your air vents
Most stoves have two controls, and knowing which does what is the difference between a fire you command and a fire that commands you.
Primary air
Primary air enters below the fire, feeding the fuel directly. It is the vent for getting a fire going, reviving a dying one and burning down a bed of embers. Once the fire is well established, most stoves want the primary vent closed or nearly closed.
Secondary air
Secondary air comes in above the fire, often through a row of small holes or a "air wash" that keeps the glass clear. It supplies oxygen to the flames and burns off the gases that would otherwise go up the chimney as smoke. On modern stoves, this is the vent you leave open for a clean burn, even at low output.
If your fire is smoking heavily, roaring too fiercely, or the glass is blackening, adjust one vent at a time and give the stove five minutes to respond. Stoves are slow to react, and constant fiddling makes things worse.
Banking logs for an overnight burn
An overnight burn is not about a big fire. It is about a controlled one that has enough fuel to smoulder gently for six to eight hours without smoking the neighbourhood out or overheating the room.
Roughly half an hour before bed, stop adding small pieces and let the fire burn down to a deep bed of glowing embers. Then:
- Place three or four large, dry logs — the biggest your stove will take comfortably — tightly together, so they burn into each other rather than separately.
- Leave a clear air gap in front of the logs so the incoming air can reach them.
- Close the primary air almost completely, and set the secondary air low but not shut. Fully sealed stoves smoulder, produce creosote and can be dangerous.
- Close the door firmly and check that the flue is still drawing by watching the fire for a minute or two.
A stove loaded this way will still have hot embers in the morning. Rake them together, add kindling and a couple of small splits, open the primary vent, and you are back in business in minutes.
Keep it safe and keep it burning well
Never leave a stove unattended with the door open, and keep anything flammable well clear of it. Fit carbon monoxide alarms in the room and in nearby bedrooms — this is genuinely important, not a box-ticking exercise — and have the chimney swept at least once a year, more often if you burn a lot. If you are unsure about your flue, ventilation or the condition of the stove, ask a registered installer or chimney sweep to check it for you.
Finally, remember that the best overnight burn comes from a fire you have already run properly all evening. A hot stove with dry wood and sensible air settings will hold its heat far longer than a cold one coaxed into life at midnight. Learn to read the flames — bright and lively means plenty of air, lazy and dark means too little — and you will soon be setting the stove by feel rather than guesswork.
Get those habits right and your stove will reward you with an evening of steady warmth and a bed of embers waiting in the morning.
Photo: cecigre / Pixabay