How to Draught-Proof a Victorian Terraced House Without Losing Character

There is a particular kind of cold that only a Victorian terrace can produce. It seeps in around the sash cords, slides across the floorboards, curls out of the fireplace and settles in the room as though it has every right to be there. The sash windows, deep skirting and cast-iron fireplaces that let it in are usually the same things that made you want the house in the first place.
You do not have to choose between warmth and character. Most draughts in a period home come from a handful of predictable places, and they can be closed off in ways that are sympathetic, largely reversible and kind to the building fabric. Here is how to go about it in a sensible order.
Find the Draughts Before You Buy Anything
Wait for a breezy day, then walk the house slowly. The back of your hand is a surprisingly good instrument, but a joss stick or a smoke pencil is better: the smoke bends and streams where air is moving, which tells you the difference between a genuine draught and a cold surface.
Be systematic. Start at the window, work down to the floor, then round the door. Buckets of sealant get wasted on gaps that were never the problem.
- Sash windows: the meeting rail in the middle, the gap between sash and frame, and the pulley boxes at the top corners.
- Floorboards: the gaps between boards, worst of all where they run alongside a chimney breast.
- Skirting: the shadow line where board meets floor, and any gaps where it meets the wall.
- Fireplaces: an open flue is usually the single largest hole in the room.
- Doors: letterbox, keyhole, and the gap underneath — often the worst of the three.
- Services: pipes, cables and old gas runs passing through walls or floors.
Sash Windows Without Sealing Them Shut
Sashes leak in three places at once, which is why they get such a bad reputation. The fix is not to blank them off, but to add a seal that still lets the sashes slide.
Brush seals are the standard approach. They sit in a routed groove in the parting beads and staff beads, brushing against the sash as it moves. On older windows, the beads are often thin, painted and brittle; replacing them with new timber beads and keeping the originals in the loft is a tidy, honest solution that a joiner can manage in a morning per window.
Secondary glazing, shutters and curtains
Slim secondary glazing, screwed discreetly into the reveal, cuts both draughts and noise and is removable if you move. Acrylic magnetic panels are cheaper and fine for the coldest months only. Original shutters, where you still have them, are excellent draught-blockers once the hinges and catches are sorted — and heavy interlined curtains on a proper track, hung slightly wider than the window and with a pelmet or valance above, will do more than most people expect.
Keep the ventilation
A sealed sash window is a sealed room. Sashes traditionally provide background ventilation, so if you close every gap in a bedroom, moisture from breathing and drying washing has nowhere to go. Keep at least one opening sash per room, or fit trickle vents, and read the section on breathability below before you go any further.
Floorboards, Skirting and What Lies Beneath
Boards shrink over a century or so and gaps of a few millimetres are entirely normal. What matters is what you put in them.
- Clean out the gaps with a scraper and a vacuum — decades of grit and old wax will stop anything sticking.
- Push foam backer rod or oiled paper rope into the gap with a blunt chisel. This is reversible, quiet, and can be painted or stained to disappear.
- For wider gaps, use a flexible sealant that stays elastic. A rigid filler will crack as the boards move seasonally and is miserable to remove later.
- If you have access from below, insulate between the joists with mineral wool or wood-fibre batts, held on netting, and seal the junction where floor meets wall. Wear a mask. Old dust is unpleasant stuff.
- Seal the skirting-to-floor gap with a neat flexible bead, and do the same around pipe penetrations.
One warning: do not block the air bricks at the base of the outside walls. Those ventilate the void under a suspended timber floor and keep the joists dry. Sealing them to save a draught can cost you a floor.
Fireplaces and Chimneys
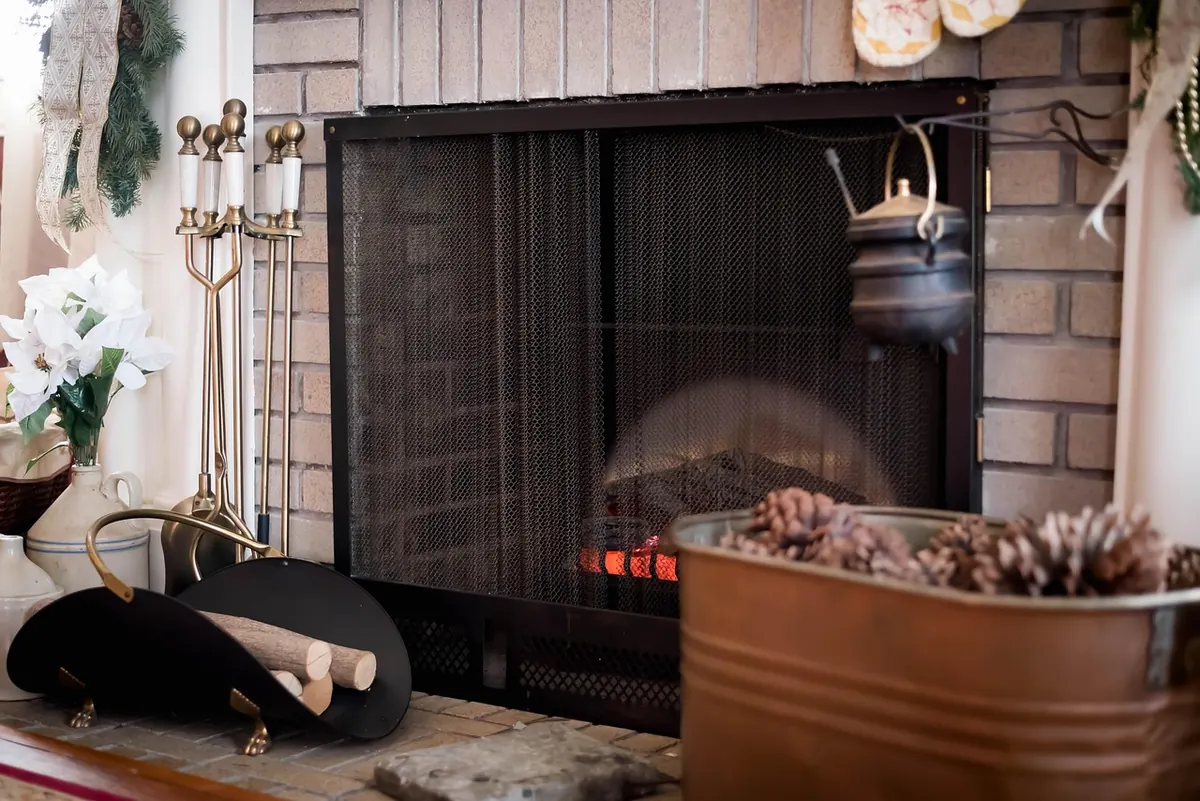
An unused chimney is a chimney-sized hole in your wall. If the fireplace is decorative only, and the flue has been swept recently, options include a chimney draught excluder, a wool pad or a sealed board fitted with a small vent so the stack can still breathe. Chimney balloons do the job but need checking periodically — they can deflate and drop.
If you light fires, the conversation changes. Close the doors on a stove, fit a register plate if there is a throat opening, use a damper if one is fitted, and keep the flue swept. A ventilated rain cap on the pot keeps out rain and birds without cutting off the flue.
Never block the air supply to a working appliance. A gas fire or boiler needs its ventilation permanently, and anything gas-related should be checked by a Gas Safe registered engineer rather than sealed off as a draught cure. For solid fuel, have the chimney swept before you cap or block anything.
Doors, Letterboxes and the Small Gaps
A front door usually fails at the bottom. Brush seals in a routed groove work well on the sides and head, but the threshold needs either a hardwood strip or a drop-down seal that lifts as the door closes. Add a letterbox with brushes, a keyhole cover with a flap, and a decent draught excluder for the winter.
Internal doors benefit too — sealing a hall door reduces the draught that travels up the stairs. Extractor fans, redundant vents and holes around old pipework are worth a bead of mastic, but check first that the vent is not doing a job.
Let the House Breathe
Victorian construction is designed to manage moisture by moving air: lime mortar, solid walls, timber floors and ventilation paths all work together. Seal everything and the moisture you generate has nowhere to go but into cold surfaces, where it becomes condensation, then mould, then rot in the timbers you cannot see.
The aim is controlled ventilation, not a vacuum. Use kitchen and bathroom extractors, open windows briefly and widely once or twice a day rather than leaving them ajar all afternoon, and never block sub-floor air bricks. If you are sealing a great deal, it is worth talking to a ventilation specialist about a heat recovery system. And remember that draught-proofing is not insulation — the two jobs are complementary, and doing one without the other leaves money on the table.
A Sensible Order of Work
Start with the survey, then tackle the biggest holes first: chimneys and floors usually give the best return for the least disruption. Move on to windows, where brush seals do most of the work, then doors, letterboxes and the odd pipe. Live with it through a cold snap before you buy secondary glazing; by then you will know exactly which rooms still need it.
If your house is listed, or sits in a conservation area, check with your local planning authority before altering external elements such as chimney caps or window frames; internal changes to historic fabric can also need consent. Done thoughtfully, none of this work has to leave a mark. The sashes still slide, the boards still creak, and the room is finally warm enough to sit in.
Photo: LUM3N / Pixabay